play-example-postgresql
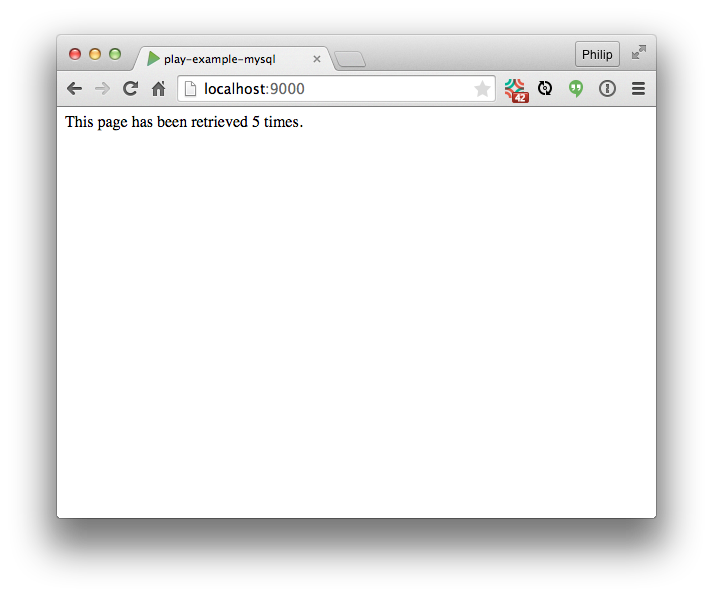
This application illustrates how to configure Play to access a PostgreSQL database, as well as how to deploy it to Heroku. The functionality is simple: the application creates a PostgreSQL table called page_retrieval containing two columns: an Id and a timestamp. A new row is added to the database each time the home page of the application is retrieved. Thus, the size of the table indicates the number of times the home page has been retrieved, and that value is printed to the home page each time it is accessed:
Here are the steps required to run this application:
1. Install PostgreSQL.
Download and install a local copy of PostgreSQL. Play-example-postgresql was tested with PostgreSQL 9.3 (since that is the current version used by Heroku by default). Later versions of PostgreSQL may still work.
To test that your PostgreSQL installation was successful, you should be able to run psql from the command line and list the currently installed databases as follows:
[~/]-> psql
psql (9.3.5)
Type "help" for help.

johnson=# \l
                                       List of databases
          Name           |  Owner  | Encoding |   Collate   |    Ctype    |  Access privileges
-------------------------+---------+----------+-------------+-------------+---------------------
 johnson                 | johnson | UTF8     | en_US.UTF-8 | en_US.UTF-8 |
 postgres                | johnson | UTF8     | en_US.UTF-8 | en_US.UTF-8 |
 template0               | johnson | UTF8     | en_US.UTF-8 | en_US.UTF-8 | =c/johnson         +
                         |         |          |             |             | johnson=CTc/johnson
 template1               | johnson | UTF8     | en_US.UTF-8 | en_US.UTF-8 | =c/johnson         +
                         |         |          |             |             | johnson=CTc/johnson
(4 rows)

johnson=# \q
[~/]->
2. Create a database called play_example_postgresql
This application makes a JDBC connection to a local database called play_example_postgresql, as shown here.
So, you need to create this database in your local PostgreSQL server. A simple approach is to use psql:
[~/]-> psql
psql (9.3.5)
Type "help" for help.

johnson=# create database play_example_postgresql ;
CREATE DATABASE
johnson=# \l
                                       List of databases
          Name           |  Owner  | Encoding |   Collate   |    Ctype    |  Access privileges
-------------------------+---------+----------+-------------+-------------+---------------------
 johnson                 | johnson | UTF8     | en_US.UTF-8 | en_US.UTF-8 |
 play_example_postgresql | johnson | UTF8     | en_US.UTF-8 | en_US.UTF-8 |
 postgres                | johnson | UTF8     | en_US.UTF-8 | en_US.UTF-8 |
 template0               | johnson | UTF8     | en_US.UTF-8 | en_US.UTF-8 | =c/johnson         +
                         |         |          |             |             | johnson=CTc/johnson
 template1               | johnson | UTF8     | en_US.UTF-8 | en_US.UTF-8 | =c/johnson         +
                         |         |          |             |             | johnson=CTc/johnson
(6 rows)
johnson=# \q
[~/]->
3. Run the application
Now run the Play application using Activator:
~/projecthosting/github/play/play-example-postgresql]-> activator run
[info] Loading project definition from /Users/johnson/projecthosting/github/play/play-example-postgresql/project
[info] Updating {file:/Users/johnson/projecthosting/github/play/play-example-postgresql/project/}play-example-postgresql-build...
[info] Resolving org.fusesource.jansi#jansi;1.4 ...
[info] Done updating.
[info] Set current project to play-example-postgresql (in build file:/Users/johnson/projecthosting/github/play/play-example-postgresql/)
[info] Updating {file:/Users/johnson/projecthosting/github/play/play-example-postgresql/}root...
[info] Resolving jline#jline;2.12 ...
[info] Done updating.

--- (Running the application, auto-reloading is enabled) ---

[info] play - Listening for HTTP on /0:0:0:0:0:0:0:0:9000

(Server started, use Ctrl+D to stop and go back to the console...)
The application should now be accessible at http://localhost:9000.
Once you try to retrieve it in a browser, you should see the following additional lines printed out in the console:
[info] Compiling 2 Scala sources to /Users/johnson/projecthosting/github/play/play-example-postgres/target/scala-2.11/classes...
[info] play - database [default] connected at jdbc:postgresql://localhost/play_example_postgresql
[info] play - Application started (Dev)
4. Verify your installation
Test that you have run the application successfully by retrieving the application in your browser and then refreshing the page. You should see the counter increment in value.
5. Deploy to Heroku
It is quite easy to deploy this application to Heroku. First, you must sign up for a Heroku account and install the Heroku toolbelt.
Second, make sure this application is in the master branch of a local git repository. If the source code is not already under git control, you can set it up quickly with the following commands in the directory containing the application:
$ git init
$ git add .
$ git commit -m "init"
Third, create a new application on Heroku using heroku create:
 $ heroku create
 Creating warm-frost-1289... done, stack is cedar-14
 http://warm-frost-1289.herokuapp.com/ | git@heroku.com:warm-frost-1289.git
 Git remote heroku added
Fourth, deploy the application using git push heroku master:
 $ git push heroku master
 Counting objects: 93, done.
 Delta compression using up to 4 threads.
 Compressing objects: 100% (84/84), done.
 Writing objects: 100% (93/93), 1017.92 KiB | 0 bytes/s, done.
 Total 93 (delta 38), reused 0 (delta 0)
 remote: Compressing source files... done.
 remote: Building source:
 remote:
 remote: -----> Play 2.x - Scala app detected
 remote: -----> Installing OpenJDK 1.8... done
 remote: -----> Downloading SBT... done
 remote: -----> Priming Ivy cache (Scala-2.11, Play-2.3)... done
 remote: -----> Running: sbt update
 ...
 remote: -----> Dropping ivy cache from the slug
 remote: -----> Dropping sbt boot dir from the slug
 remote: -----> Dropping compilation artifacts from the slug
 remote: -----> Discovering process types
 remote:        Procfile declares types -> web
 remote:
 remote: -----> Compressing... done, 93.3MB
 remote: -----> Launching... done, v6
 remote:        https://warm-frost-1289.herokuapp.com/ deployed to Heroku
 remote:
 remote: Verifying deploy... done.
 To https://git.heroku.com/warm-frost-1289.git
 * [new branch]      master -> master
More information is available in the Deploying to Heroku page of the Play Framework documentation.
Fifth, verify your deployment by retrieving the Heroku application in your browser. If the deployment was successful, you should be able to refresh the page and see the counter increment in value.
Screencast
Click the image below to watch a six minute walkthrough of the code:
