Meteor-application-template is a sample Meteor 1.5 application that is created to illustrate:
- A standard directory layout using ‘imports/’ as recommended in the Meteor Guide
- A standard set of Meteor packages and example usage (FlowRouter, AutoForm, Accounts, and Semantic UI)
- Simple authorization/authentication and use of settings files for initialization.
- Simple quality assurance using ESLint with packages to partially enforce the Meteor Coding Standards and the AirBnB Javascript Style Guide.
The goal of this template is to help you get quickly started doing Meteor development by providing a reasonable directory structure for development and deployment, a set of common extensions to the core framework, and boilerplate code to implement basic page display, navigation, and collection manipulation.
To keep this codebase simple and small, some important capabilities are intentionally excluded from this template:
- Testing.
- Security (meteor-application-template enables both autopublish and insecure packages)
Examples of the these capabilities will be provided elsewhere.
Installation
First, install Meteor.
Second, create a new GitHub repository, and clone it into your local workspace.
Third, download a zip file containing a snapshot of meteor-application-template.
Fourth, uncompress the zip file, and copy the following files and directories into your repo:
- app/
- config/
- .gitignore
You don’t need to copy the README.md or index.md files (you should write your own), and you don’t need to copy the doc/ directory (it contains only screenshots displayed in this page of documentation.)
Now your local repo should contain the template. To test that everything is OK, cd into the app directory install the required libraries with:
$ meteor npm install
Once the libraries are installed, you can run the application by invoking the “start” script in the package.json file:
$ meteor npm run start
Note regarding bcrypt warning. You will get the following message when you run this application:
Note: you are using a pure-JavaScript implementation of bcrypt.
While this implementation will work correctly, it is known to be
approximately three times slower than the native implementation.
In order to use the native implementation instead, run

  meteor npm install --save bcrypt

in the root directory of your application.
On some operating systems (particularly Windows), installing bcrypt is much more difficult than implied by the above message. Bcrypt is only used in Meteor for password checking, so the performance implications are negligible until your site has very high traffic. You can safely ignore this warning without any problems.
If all goes well, the template application will appear at http://localhost:3000. You can login using the credentials in settings.development.json, or else register a new account.
Lastly, you can run ESLint over the code in the imports/ directory with:
meteor npm run lint
Walkthrough
The following sections describe the major features of this template.
Directory structure
The top-level directory structure is:
app/        # holds the Meteor application sources
config/     # holds configuration files, such as settings.development.json
doc/        # holds developer documentation, user guides, etc.
.gitignore  # don't commit IntelliJ project files, node_modules, and settings.production.json
This structure separates documentation files (such as screenshots) and configuration files (such as the settings files) from the actual Meteor application.
The app/ directory has this structure:
client/
  lib/           # holds Semantic-UI files.
  head.html      # the <head>
  main.js        # import all the client-side html and js files.

imports/
  api/           # Define collection processing code (client + server side)
  startup/       # Define code to run when system starts up (client-only, server-only, both)
    both/
    client/
    server/
  ui/
    layouts/     # Layouts contain common elements to all pages (i.e. menubar and footer)
    pages/       # Pages are navigated to by FlowRouter routes.
    stylesheets/ # CSS customizations, if any.

node_modules/    # managed by Meteor

public/          # static assets (like images) can go here.

server/
   main.js       # import all the server-side js files.
Import conventions
This system adheres to the Meteor 1.4 guideline of putting all application code in the imports/ directory, and using client/main.js and server/main.js to import the code appropriate for the client and server in an appropriate order.
This system accomplishes client and server-side importing in a different manner than most Meteor sample applications. In this system, every imports/ subdirectory containing any Javascript or HTML files has a top-level index.js file that is responsible for importing all files in its associated directory.
Then, client/main.js and server/main.js are responsible for importing all the directories containing code they need. For example, here is the contents of client/main.js:
import '/imports/startup/client';
import '/imports/startup/both';
import '/imports/api/stuff';
import '/imports/ui/layouts';
import '/imports/ui/pages';
import '/imports/ui/stylesheets/style.css';
Apart from the last line that imports style.css directly, the other lines all invoke the index.js file in the specified directory.
We use this approach to make it more simple to understand what code is loaded and in what order, and to simplify debugging when some code or templates do not appear to be loaded. In our approach, there are only two places to look for top-level imports: the main.js files in client/ and server/, and the index.js files in import subdirectories.
Note that this two-level import structure ensures that all code and templates are loaded, but does not ensure that the symbols needed in a given file are accessible. So, for example, a symbol bound to a collection still needs to be imported into any file that references it. For example, a server startup file needs to reference the symbol “Stuff” in order to initialize the collection, so it must import the symbol Stuff:
import { Stuff } from '../../api/stuff/stuff.js';
import { _ } from 'meteor/underscore';

/**
 * A list of Stuff to pre-fill the Collection.
 * @type {*[]}
 */
const stuffSeeds = [
  { name: 'Basket', quantity: 3 },
  { name: 'Bicycle', quantity: 2 },
];

/**
 * Initialize the Stuff collection if empty with seed data.
 */
if (Stuff.find().count() === 0) {
  _.each(stuffSeeds, function seedStuffs(stuff) {
    Stuff.insert(stuff);
  });
}
This strategy is not ideal for all application scenarios, but for those just starting to get comfortable with importing in Javascript, it should reduce confusion and import-related bugs.
Naming conventions
This system adopts the following naming conventions:
- Files and directories are named in all lowercase, with words separated by hyphens. Example: accounts-config.js
- “Global” Javascript variables (such as collections) are capitalized. Example: Stuff.
- Other Javascript variables are camel-case. Example: stuffSeeds.
- Templates representing pages are capitalized, with words separated by underscores. Example: Add_Stuff_Page.
- Routes to pages are named the same as their corresponding page. Example: Add_Stuff_Page.
Preinstalled packages
In a nutshell, meteor-application-template includes support for:
- Forms (autoform, collection2, check, autoform-semantic-ui )
- Accounts (accounts-ui, accounts-password and useraccounts:semantic-ui)
- Routing (flow-router, flow-router-helpers, active-route)
- Presentation (semantic-ui, spin)
It does not provide security (both autopublish and insecure packages) remain enabled. This is intentional.
Application functionality
The application implements a simple CRUD application for managing “Stuff”, which is a Mongo Collection consisting of a name (String) and a quantity (Number). There are four pages, each implemented by a template in the imports/ui/pages directory.
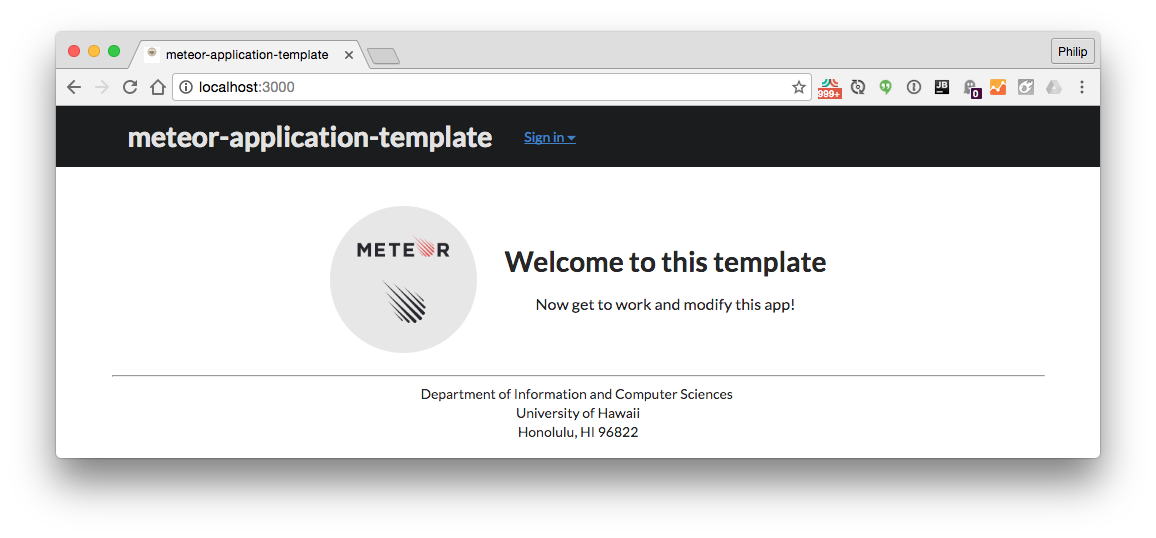
Home page
Implemented by the Home_Page template.
You must login to access any page other than the Home page.
List Stuff page
You must login to see the contents of the Stuff collection.

Add Stuff page
You must login to add new documents to the Stuff collection.

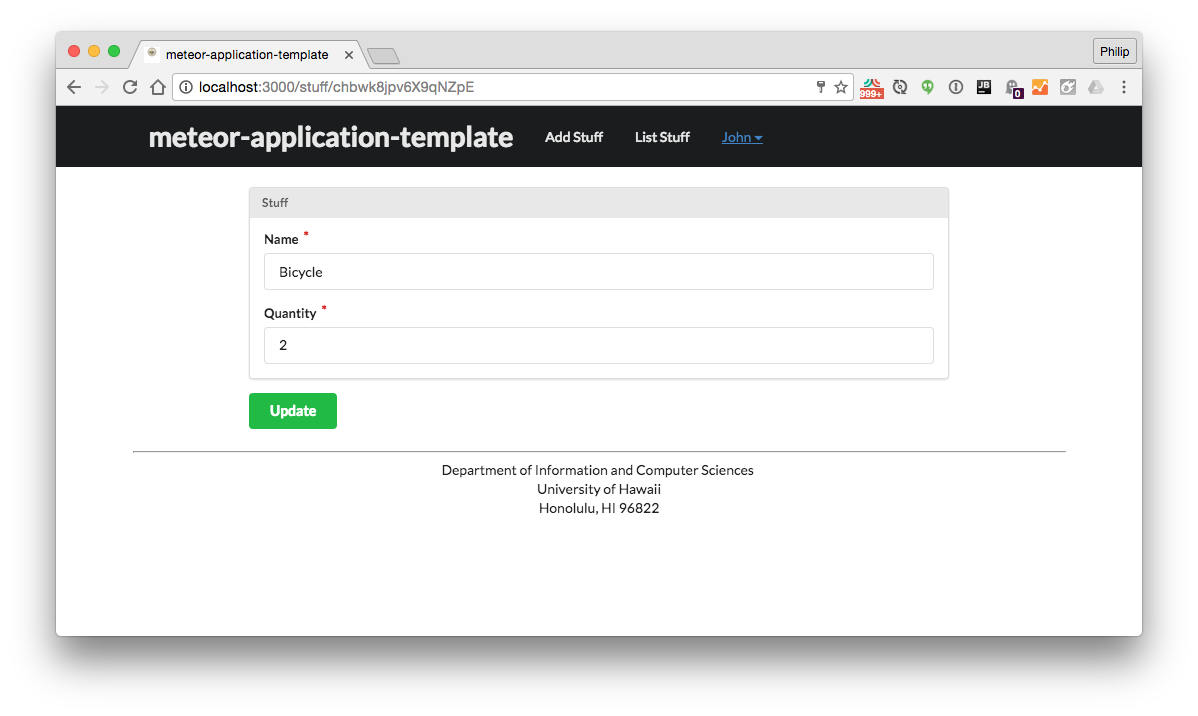
Edit Stuff page
You must login to add edit documents in the Stuff collection.
Collections
The application implements a single Collection called “Stuff”. Each Stuff document has two fields: a String “name” and a Number “quantity”.
The Stuff collection is defined in imports/api/stuff/stuff.js.
The Stuff collection is initialized in imports/startup/server/stuff.js.
Note that this system uses autopublish to avoid the need to define publications and subscriptions. That said, any templates presenting collection data must use Template.subscriptionsReady to ensure that subscription data is available before template rendering. See imports/ui/pages/list-stuff-page.html for an example.
CSS
The application uses Semantic UI, and installs one Meteor packages: fabienb4:autoform-semantic-ui.
The Semantic UI theme files are located in app/client/lib/semantic-ui directory.
Because the application implements a menu fixed to the top of the screen, the app/imports/ui/stylesheets/style.css file adds 61px of padding to the body. Other page templates add additional padding to improve the look.
To learn more about the Semantic UI theme, see Semantic-UI-Meteor.
Routing
For display and navigation among its four pages, the application uses Flow Router.
Routing is defined in imports/startup/client/router.js.
Forms
To implement the Add Stuff and Edit Stuff pages, the application uses AutoForm.
To present the forms, the application uses the quickform component. See imports/ui/pages/add-stuff-page.html and imports/ui/pages/edit-stuff-page.html.
See meteor-example-form for a more sophisticated approach.
Authentication
For authentication, the application uses the Meteor accounts-ui package, with some simple customization in imports/startup/both/accounts-config.js.
When the application is run for the first time, a settings file (such as config/settings.development.json) should be passed to Meteor. That will lead to a default account being created through the code in imports/startup/server/accounts.js.
The application allows users to register and create new accounts at any time.
Authorization
Only logged in users can manipulate Stuff documents (but any registered user can manipulate any Stuff document, even if they weren’t the user that created it.)
To prevent users who are not logged in from accessing pages that manipulate Stuff instances, template-based authorization is used following the recommendations in Implementing Auth Logic and Permissions.
The application implements template-based authorization using an If_Logged_In template, defined in imports/ui/layouts/if-logged-in.html and imports/ui/layouts/if-logged-in.js.
Configuration
The config directory is intended to hold settings files. The repository contains one file: config/settings.development.json.
The .gitignore file prevents a file named settings.production.json from being committed to the repository. So, if you are deploying the application, you can put settings in a file named settings.production.json and it will not be committed.
Quality Assurance
ESLint
The application includes a .eslintrc file to define the coding style adhered to in this application. You can invoke ESLint from the command line as follows:
[~/meteor-application-template/app]-> meteor npm run lint

> meteor-application-template@ lint /Users/philipjohnson/meteor-application-template/app
> eslint --quiet ./imports
ESLint should run without generating any errors.
It’s significantly easier to do development with ESLint integrated directly into your IDE (such as IntelliJ).
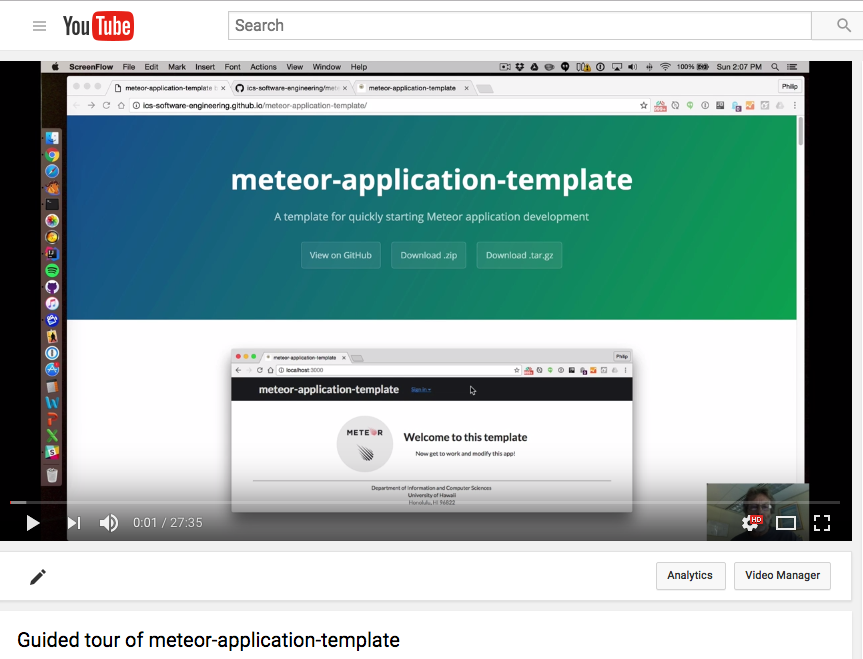
Screencast
Click the image below to watch a 27 minute walkthrough of this system. This screencast was generated for a previous version of meteor-application-template, so there may be small differences in the code base.